
Install Coro
Coro ships as a desktop bundle (runner + dashboard) and as an npm-distributed CLI that includes the same capabilities. Most people use the dashboard as the primary control surface; the CLI is optional for automation and SSH sessions.
Desktop (recommended)
Stable builds are published on GitHub Releases:
github.com/Coro-ai-framework/coro-release/releases/latest
- macOS — Download the
.dmg, open it, and drag Coro into Applications. - Windows — Download the installer
.exeand complete the wizard.
Launch Coro from your applications folder or Start menu. The app starts the local runner and opens the bundled dashboard in your browser (typically http://localhost:3000/dashboard/). On first launch it initialises ~/.coro/ and walks you through setup.
CLI install (optional)
If you prefer a terminal-first install path—or need Coro on a headless machine—install the global coro binary from npm:
npm install -g @coro-ai/runnerWith pnpm:
pnpm add -g @coro-ai/runnerVerify the install:
coro --helpThen start the runner and dashboard:
coro startcoro start binds the HTTP API (default port 3000), serves the dashboard at /dashboard/, and opens a browser tab unless you pass --no-open. This is the same surface the desktop app uses—you configure and dispatch runs in the UI, not on the command line.
First-time setup in the dashboard
Whether you launched the desktop app or ran coro start, finish configuration in the dashboard:
- Complete the setup wizard on first launch—it guides you through LLM provider, source control, and an optional issue tracker.
- Reopen the wizard anytime from Settings → Run setup wizard, or configure each area directly in the sidebar.
Until at least one SCM plugin is healthy and you have a working LLM path (Claude login and/or API key, depending on your setup), new runs block at hand-off points visible in the UI.
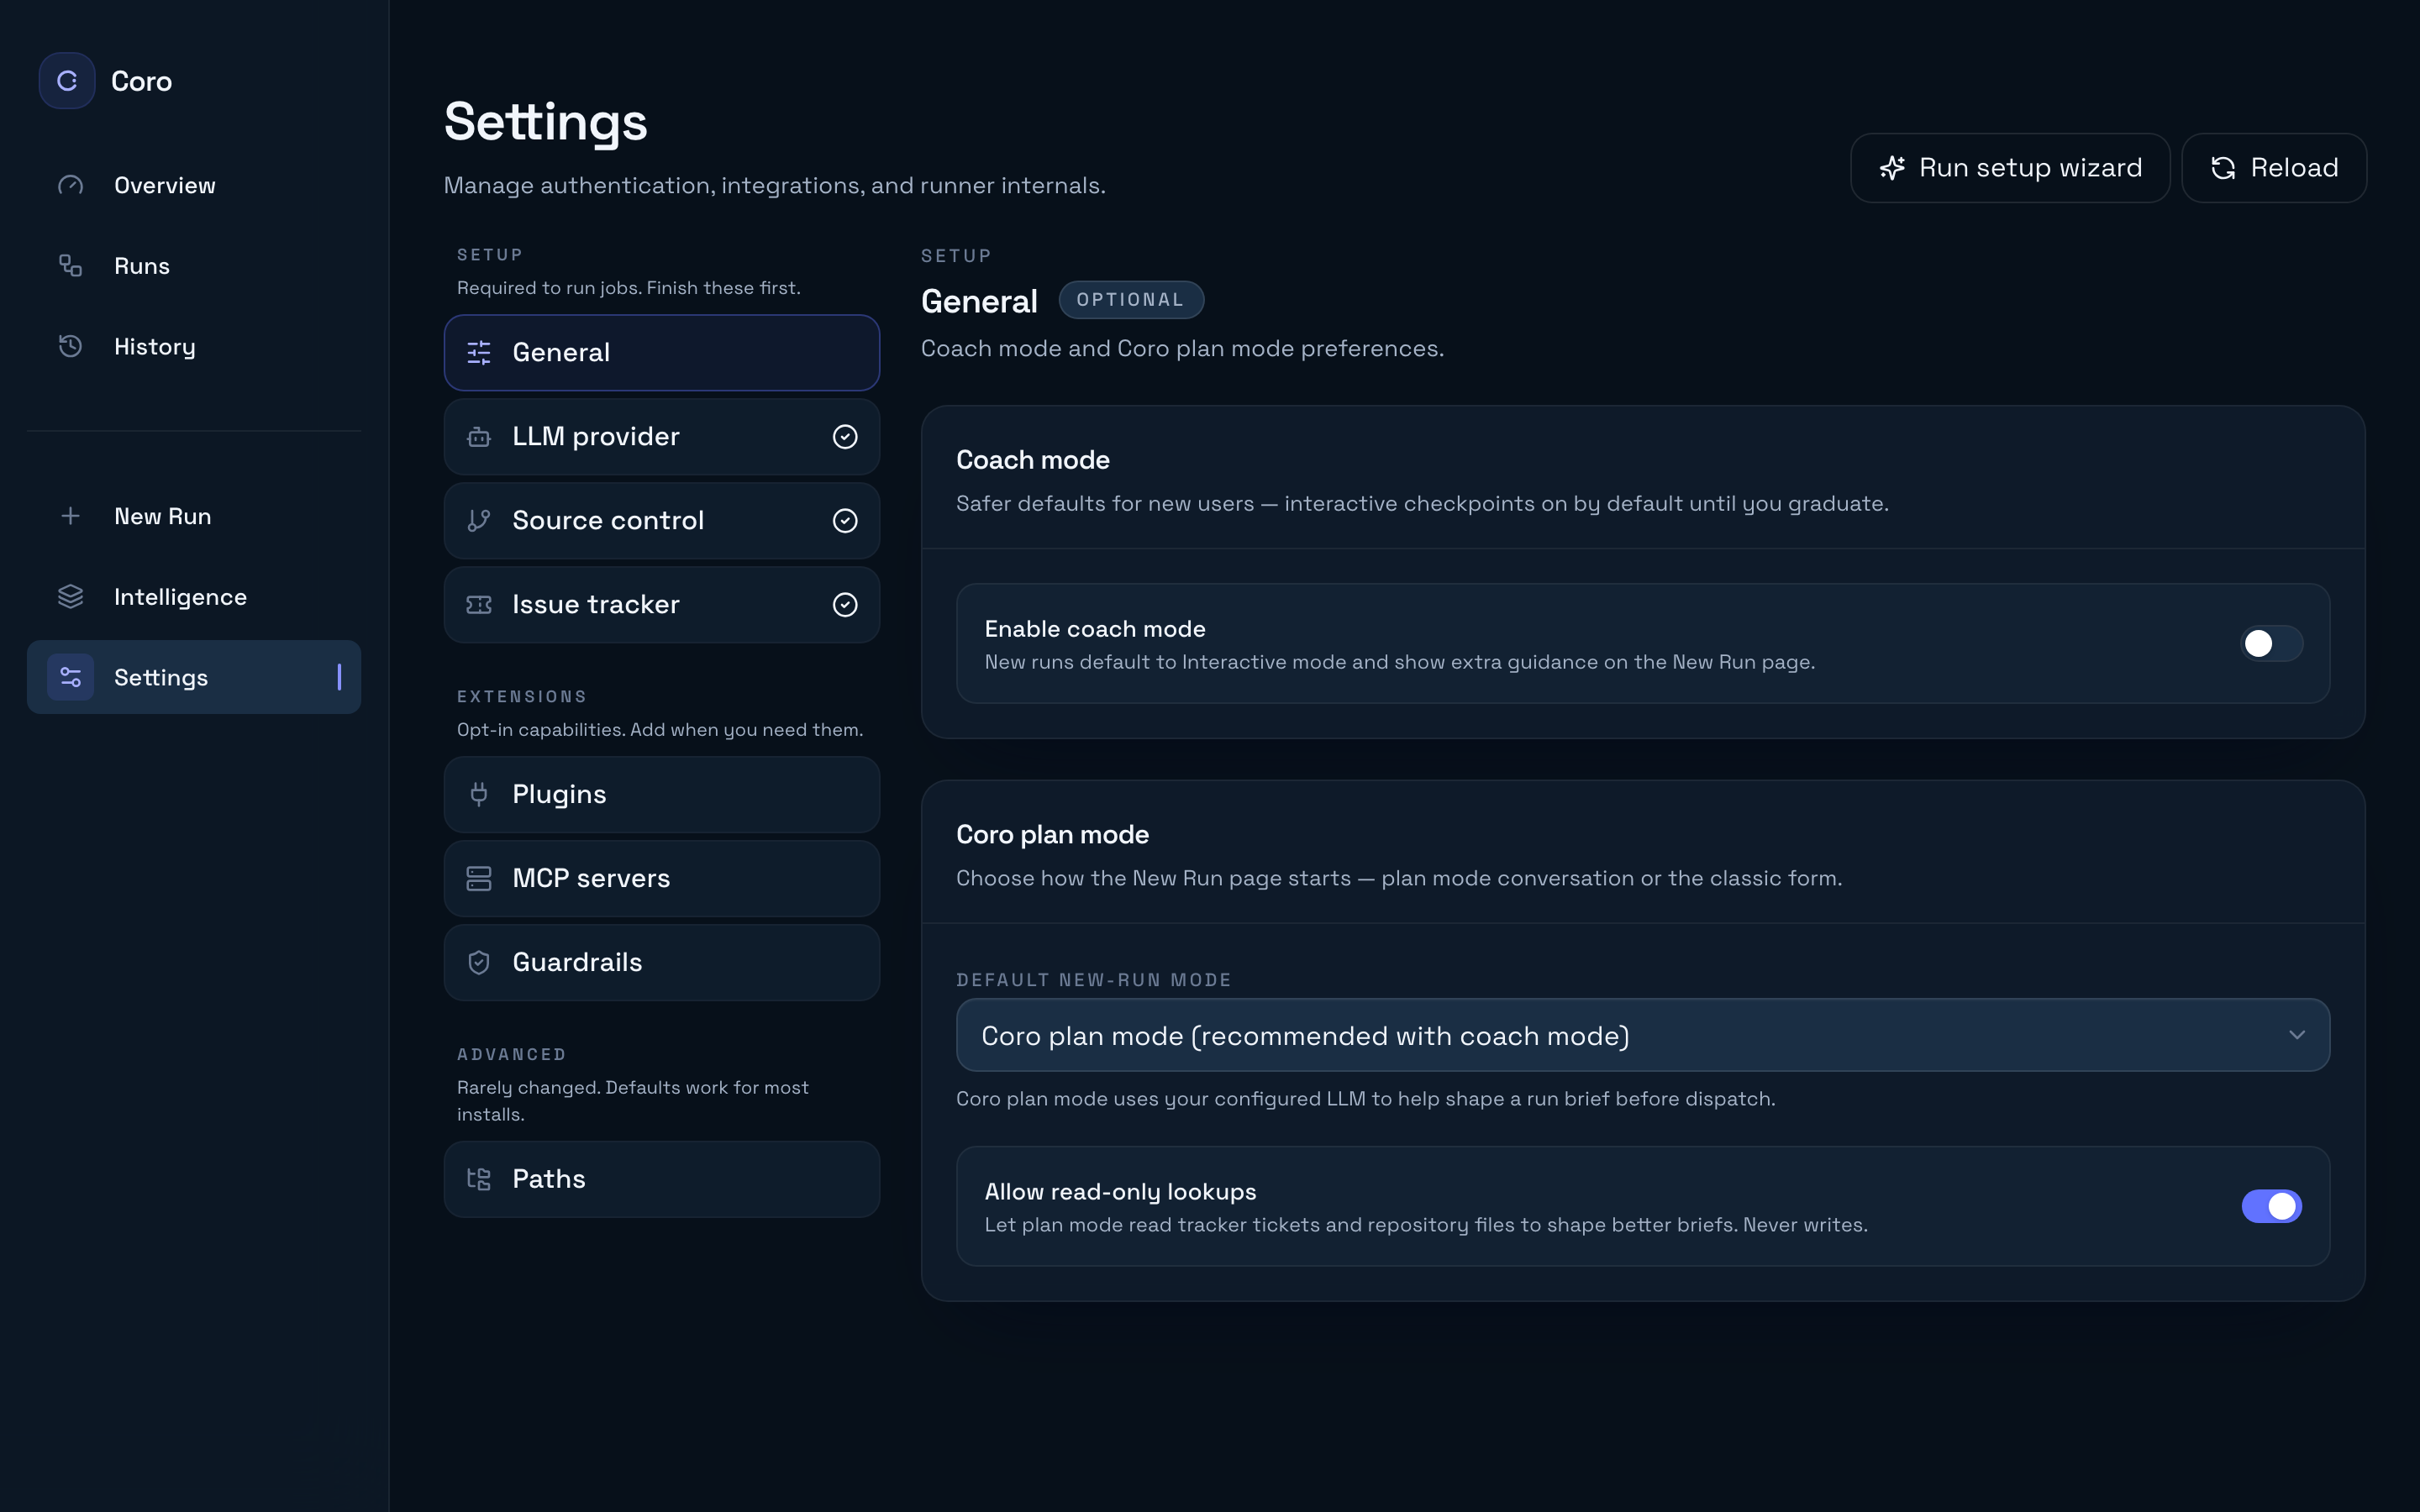
Configure in Settings (recommended)
Almost all operator settings live in the dashboard—not in hand-edited JSON. Open Settings from the sidebar and work through the groups:
| Group | Section | What you configure |
|---|---|---|
| Setup | LLM provider | Anthropic Claude login, API keys, OpenAI, model aliases |
| Setup | Source control | GitHub, GitLab, or Bitbucket credentials |
| Setup | Issue tracker | Jira, Linear, or GitHub Issues (optional) |
| Extensions | Plugins | Install and manage drop-in SCM, tracker, and executor plugins |
| Extensions | MCP servers | Bring-your-own MCP servers and Claude Code inheritance |
| Extensions | Guardrails | PR size, description, merge approval, and proposal policies |
| Advanced | Paths | Intelligence directory, tenant Git remote, working directory |
Each section has a Save all changes bar when you edit fields. Use Test connection buttons where available before starting a run.
See Configure providers for a section-by-section walkthrough.
Where config and local state live
The dashboard reads and writes the same file the runner uses at startup. You rarely need to open it directly:
| Path | Purpose |
|---|---|
~/.coro/config.json | Persisted settings (written by Settings). Override path with coro start --config. |
~/.coro/state.db | SQLite state for solo mode jobs, proposals, and runner metadata. |
Settings → Advanced → Paths shows the resolved config path with a Show in Finder / Open folder button if you need to inspect or back up the file. For a key-by-key reference (including fields with no dashboard UI yet, such as hybrid cloud pairing), see Configuration reference.
Next step
Configure providers in the dashboard, then start work from Runs → New Run—Your first job walks through the New Run page step by step. The CLI is documented as an optional shortcut on that page and in the CLI reference.